
To emphasize the subject of our photo, we use different techniques. I have collected some of these methods, tricks, and ideas to give you a little inspiration.
Forewords
One of the main purposes of taking photos is to show something. It can be a face, an action, a mountain, or any other thing that worth taking a shot of. The common in these is that they have a subject or subjects that we would like to present. Therefore, we are to find a good way to emphasize the subject of our photographs or separate them from the other elements of the picture.
I hope you get inspired by flicking through the following techniques. Furthermore, I hope they come to your mind when you are in a situation in which you can use some of them.
Emphasize the subject with selective focus
Actually, this is one of the most commonly used techniques to make your subject stand out. With a wider aperture and shallower depth of field, you can separate your subject from the background and the foreground by blurring them. It will lead the eyes to the sharpest parts of the image which will be the focus points.
It’s an easy way to guide the attention so let’s see some examples.

Talking about shallow depth of field in the case of landscape photography is an interesting issue. Usually, we would like as much DOF as possible, however, there are exceptional situations when this approach comes in handy.
My favorite examples come from photographs of forests and woodlands. The first this kind of photos I saw were made by Mark Littlejohn and Charles Cramer. Their works are absolutely catchy for me anyway and their photos are really inspiring to me.
The core is that in woodlands the background and the subject are visually merged and with this adjustment, we have a tool to separate them.
I recently saw a video about this issue made by Toma Bonciu and he explains well why and how it works.

Leading lines
Besides being a strong composition technique, it gives you the opportunity to highlight your main subject by drawing the attention straight to the subject of your image. Look for curves and lines (not just straight lines) and try to use them creatively.

Colors
Playing with colors is fun. Placing your subject into an environment that is a bit (or totally) different in colors is a powerful approach.
Shooting portraits, it’s a good idea to find a background and an outfit for your model that are in contrast in colors. In addition, taking photos of still life or food, this technique perfectly works as well.

The method mentioned above is commonly used in nature and landscape photography too.

Furthermore, there are other variations you can consider. You can experiment with vividness or how the matt and glossy colors work together. There can be a lot of potential in dealing with colors so keep on exploring.
Lights
Talking about drawing attention, light is a good option. There are numerous ways to use it for our images. It doesn’t matter which genres we talk about, lights can be utilized creatively.
To begin with, you can illuminate your subject directly somehow. You can use direct lights, reflected lights, diffused lights, artificial or natural lights, however, the core here is to lead the attention to the lightest part of the image, to your subject. Sometimes I see shots of flowers where the background is fully black and the flower itself is stunningly lit by a flash or strobe. As for still life images, I personally use some kind of continuous lighting setup and for portraits, I really like working with natural light.


Moreover, you can use a beam of light leaving the other parts of the image semi-dark. You can see some details in the dark areas, however, it doesn’t divert the attention from the main subject.

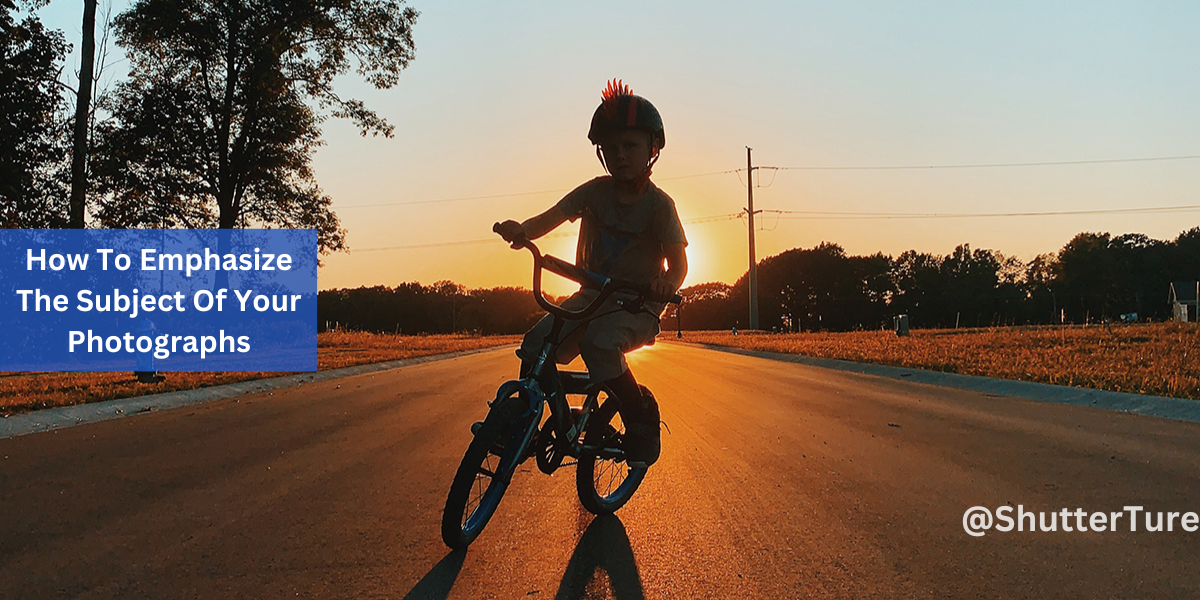
Contrarily, to emphasize the subject, you can turn these light-dark game upside-down. For example, if everything is bright in the picture except for the subject, that could attract the eyes as well. One variant of this is the silhouette images when your subject is fully black and the background is bright. This way, only the shape of your subject will be seen so make sure that it is recognizable.

As for post-processing, you can draw attention with different techniques. If your subject is in the center of the frame, you can use vignetting. Moreover, you can use brush and gradient local adjustment tools to darken or lighten certain parts. Anyway, these are really frequently used. methods
Plain background
Placing your subject on a plain background makes it the only thing that catches the eyes. The best is when your subject and the background are in contrasts in color or in light tones. Try changing your position, your point of view, or the angle for the best result.

Get in closer
It can happen that you are so far that your subject is unrecognizable or there are a lot of distracting elements in the frame. There are more solutions to this problem. First, you can go closer to the subject if it’s possible. Second, you can switch to a longer lens if you have any. Finally, you can crop your image in post-processing if the resolution is big enough.

Get further
It may sound a bit weird, yet, there are situations when getting further from the subject can be a better way. It might give you the possibility to find other backgrounds, search for new angles, and viewpoints. From the distance, you may find leading lines or any other emphasizing elements. Furthermore, using a telephoto lens, you can separate your subject from unwanted parts or it can make jumbled elements look much better when you are not so close.
In addition, far away from your subject, the difference between the elements or the uniqueness of your subject can be expressed in a more efficient way.
In this example, as we were getting further from the subject, the scenery was getting more interesting. There are leading lines and the little waterfall became the only part that stands out of the unified forest scene.

Search for distractions, odds
If something breaks an order, it automatically attracts our eyes. When an item or an element does not fit in its environment, it makes itself emphasized when the image is well composed. Try looking for odds or distracting elements in a system. It might be different in colors, in shapes, in alignment, in pattern and etc.

Eliminate distractions
Try to get used to checking your whole frame through the viewfinder. Look for distractions and make sure to eliminate all the elements you don’t want in your final result.
You can move your subject or move around it. Moreover, you can try different angles by shooting from a lower or a higher position. Furthermore, you can get closer or further so try to move and find the perfect spot.
If you perceive some distracting elements later or cannot make the image without any distracting elements, there are possibilities to fix your image during the post process flow. However, I always do my best to make it perfect straight out of the camera and I suggest you do it as well. It will shorten your post-process flow and it forces you to think more, to be more creative, to develop your eyes, and to gain more on-field experience.

All in all, I hope this list of techniques and methods gives you a leg up to successfully emphasize the subject of your photos. I also hope you can get a little inspiration from the example images. Don’t stop watching, experimenting, and learning, we keep on doing it all as well.