
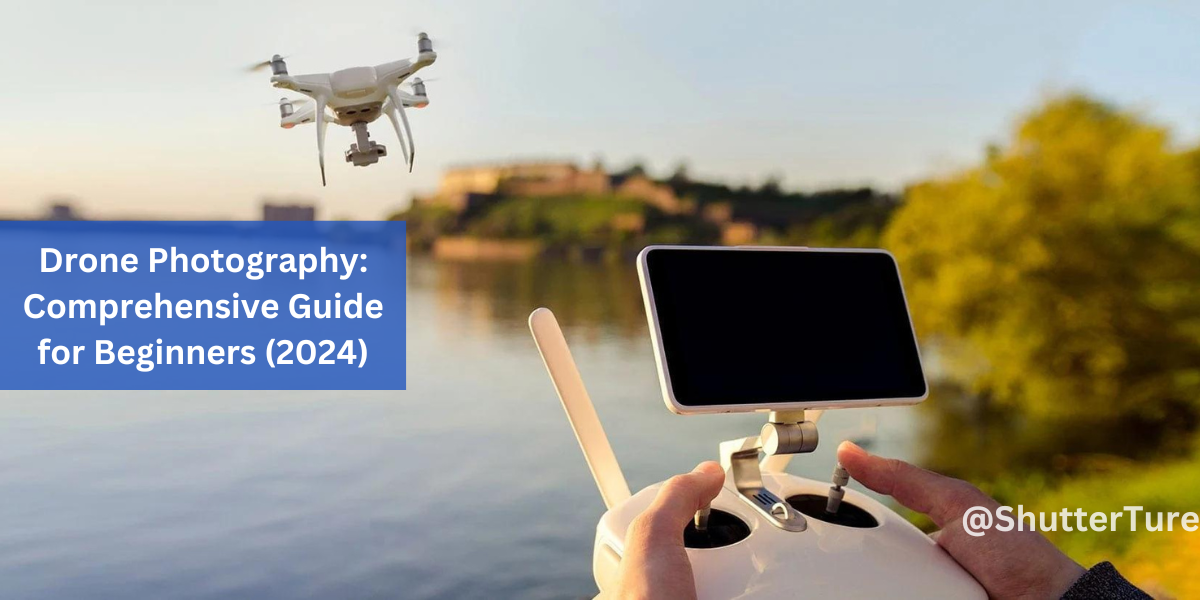
Drone photography offers a whole new level of flexibility to create exciting pictures from the sky. If you want to take your game to the next level, you need to learn some necessary but essential steps before you even start flying.
When I first started flying my drone, I was overwhelmed with the amount of information I have to keep in mind. As I learned more about it from courses and flying with my drone regularly I got more comfortable taking images from the sky.
In this article I will explain some important steps and what information to pay attention to before and during flying your drone. I guide you through all the important steps to pay attention to and giving you tips along the way with your drone. My goal is to help you create better aerial pictures.
Although this guide is for beginners the information I am sharing is valuable for pilots on all levels, so even if you already have experience with drone photography, make sure to read along.
What is a drone?
It’s a pilot-free aircraft guided with a radio controller from the ground, originally invented and used by the military to approach dangerous zones.
Consumer drones are quadcopters that can capture photos and videos, and they are constructed from 5 main parts.
- Camera
- Gimbal
- Sensor
- Battery
- Propellers
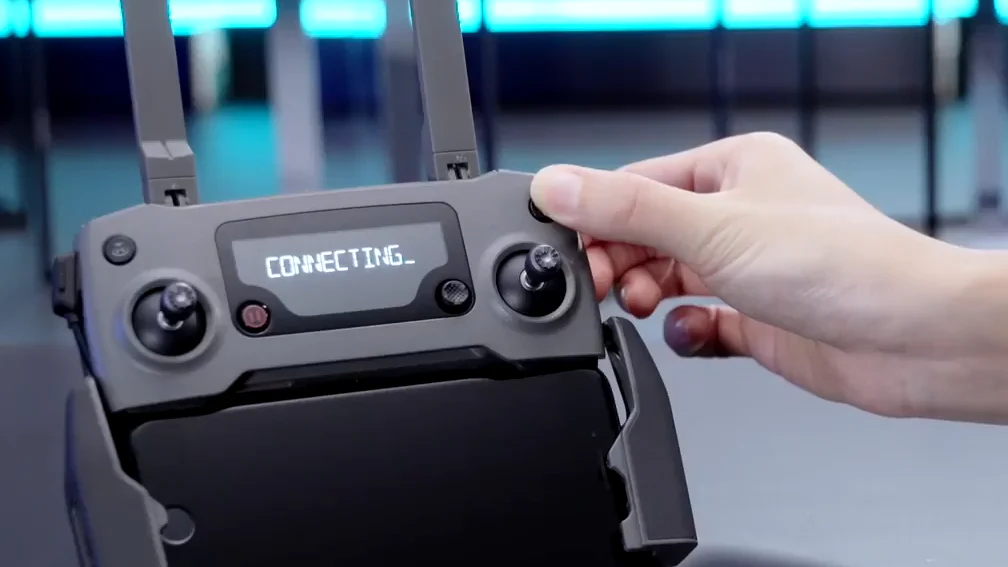
Controller
And of course, your drone will come with a controller that will use to control and achieve precise movements. I am not going into full details here there are tons of videos out there you can watch.
Some controllers have basic display some only have buttons and joysticks. DJI Smart Controller has a built-in screen which means you don’t need to use your phone.
1. Antennas
2. Gimbal wheel
3. Record movie button
4. Return to home button
5. Control sticks. Up & Down, Rotate
6. Mobile device clamps
7. Flight pause button
8. 5D button
9. Control stick- Forward &Downwards, Left & Right
10. Flight mode switch
11. Power button
12. Focus/Shutter button
13. Aperture/shutter adjustment dial
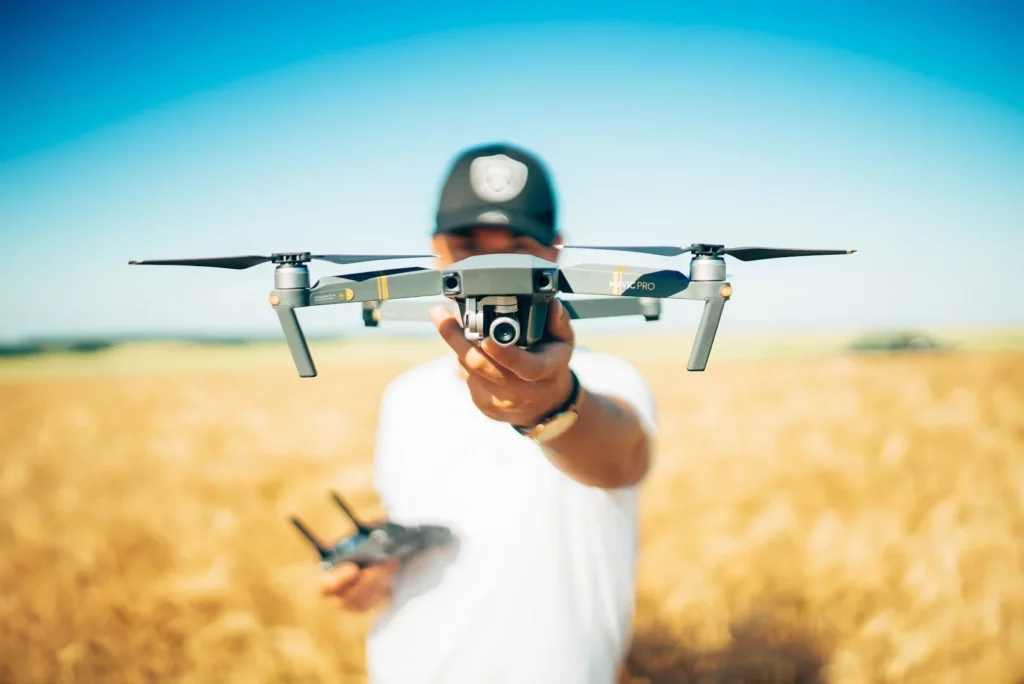
What Drone To Buy?
Consumer drones went through a lot of improvement over the years. They got smaller with better sensors and longer flight times.
New drones literally can fit in your backpack, and you can quickly transfer them. For instance, the Mavic mini can fit in the palm of your hand.
Let’s see what drones I would recommend for drone photography and why.
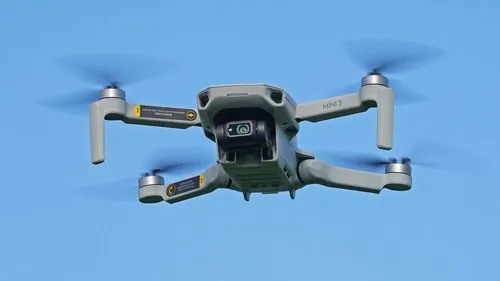
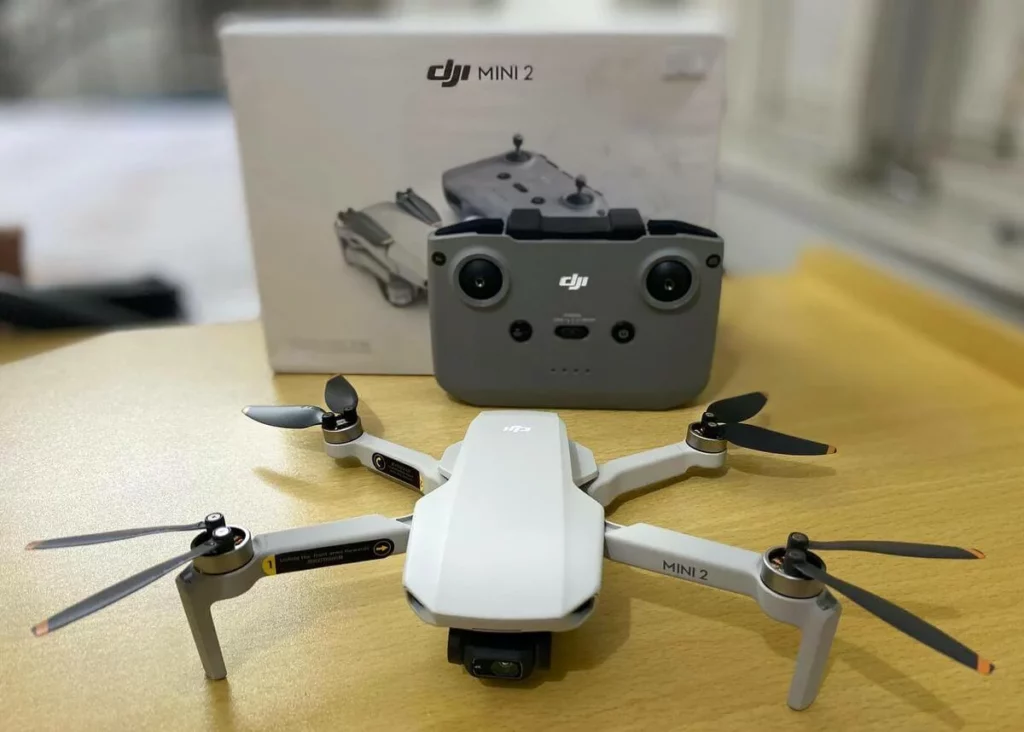
DJI Mini 2
Weight: 249g
Flight distance: 4km
Flight time: 31 mins
Resolution: 12 MP
Raw: Yes
Internal storage: No
Sensing system: Downwards
Video:
4K: 3840×2160 @ 24/25/30fps
2.7K: 2720×1530 @ 24/25/30fps
FHD: 1920×1080 @ 24/25/30/48/50/60fps
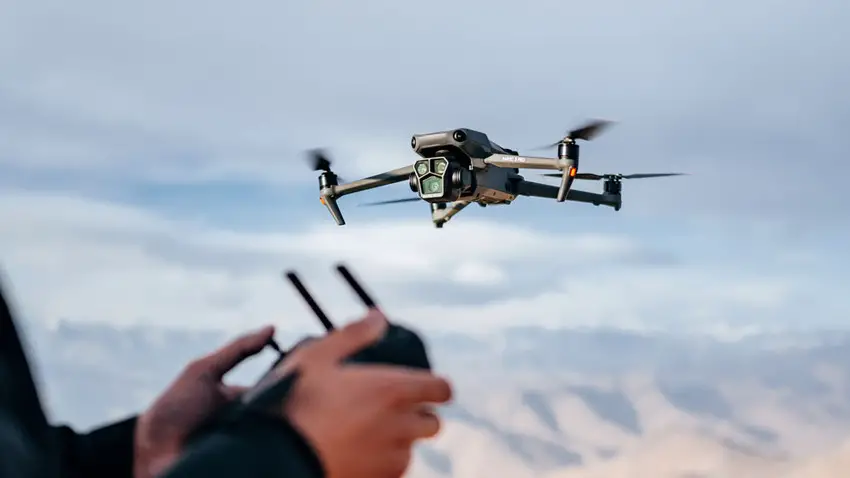
DJI Mavic Pro 2
Weight: 907 g
Flight distance: 18km
Flight time: 31 mins
Resolution: 20 MP
Raw: Yes
Internal storage: 8 GB
Sensing system: Upwards, Downwards, Forward, Backward, Sides
Video:
4K: 3840×2160 24/25/30p
2.7K: 2688×1512 24/25/30/48/50/60p
FHD: 1920×1080 24/25/30/48/50/60/120p

Mini 2
It’s the smallest and lightest drone from DJI, and it’s the second edition of the Mavic Mini. It has OcuSync 2.0, which means radio signal over wifi and more extended flying range. It weighs only 249 grams which means it is you don’t need to register it.
It’s the cheapest DJI drone, and it’s an excellent catch for anyone who wants to learn drone photography.
Read a more detailed review, visit PC mag article.
Mavic Air 2
In 2020 summer DJI released the Mavic Air 2. It also got OcuSync 2.0 and HDR camera with 12 megapixels capable of producing 48-megapixel images.
If you want to know more about how DJI achieves this high resolution, read more about it here.
This drone can capture 4K videos at 60 frames/second. So you can step up your game with some slow-motion aerial shot.
Find the Pros and cons here.
Mavic 2 Pro
This drone is my personal favorite. I still own one and use it regularly for my drone photography. It is simple; it has an excellent flying range and an impressive 20 MP Hasselblad camera that can produce detailed pictures and great footage. If you already have some experience with drones and want to enhance drone photography and videography, definitely choose this drone.
Read more about the Pros and cons.
Regulations
Unfortunately, we can’t fly wherever we just want. There are very strict rules to no-fly zones. Consequently, it’s required to know the drone law/rules in your country. Every continent/country has different regulations to fly your drone. I will share some basic rules, but I recommend checking DJI flying tips for a detailed description.
1. Don’t fly near airports
2. Do not fly over crowds
3. Your height limit should be 400 feet/120 meters
4. Fly in an open area
5. Make sure you have enough GPS signals
Check the DJI website about the current regulations in your region. Flying tips
Plan before you shoot
Before you go to a location, make sure you do your research, just like we wrote about location scouting in our article. Therefore you need to apply the same methods. Although you have much higher flexibility here to compose and frame your shot, it’s always helpful to discover your next spot.
If you have more than one battery, then it’s a good idea to use the first one only for exploration. Fly around and look for interesting subjects and compositions.
Planning is essential since you are using 80% of your battery to fly your drone so you only have 20% left to compose and capture images.
Location Scouting
I highly recommend researching the area you want to visit. I always start with this if I go to a new location. For instance, a simple tool like Google can be handy; use the maps to explore the area and find exciting forms and textures that you can be photographed later. If you want more effective research, use Google Earth to easily set your viewpoint’s angles.
Once you gather a few spots, you can even save and revisit them once you are on location.
Use Google or Flickr image search to explore the area and see what other photographers captured there. Most importantly, you can also get some inspiration from them.
I also use Youtube because drones are now so affordable and easy to use that everyone makes small movies and upload. It’s an excellent platform for location scouting, perhaps it is not the best Hollywood production, but you can collect valuable information about your destination.
Weather
Drones are not waterproof, yet it is better to fly on a sunny or overcast day. The wind is another natural factor that you need to be aware of. Although drones nowadays are relatively stable in high wind conditions, it is better to play safe, especially if you are a beginner.
First of all, check the conditions with the UAV Forecast app. It’s a simple, yet very informative application that, besides the weather, tells you the GPS signals, solar activity, no-fly zones, etc.
My friend almost lost his drone in Madeira due to strong wind gusts when he flew close to a cliff. Therefore it’s definitely worth checking the weather before you take off.
Practice Flying
It can be overwhelming for the first time to process all the information, control the drone, fly safely, compose a shot. But don’t worry, It will get more comfortable, and you’re going to have lots of fun.
Let’s see how to prepare yourself.
Get comfortable flying
It’s essential to get familiar with your gear and fly as much as you can. Go out to an open field and use all your batteries to practice simple maneuvers. Just go back and forth, up and down, to see how the drone reacts.
If you feel confident enough, then go further and pay attention to the map on the screen.
I will explain all those icons that appear in the DJI 4 Go App in the next chapter.
Don’t be afraid to go above lakes and rivers where you can find appealing texture and compositions. Although always maintain the drone height and don’t go close to the water.
Water and transparent surfaces can confuse the bottom sensor and give false data to the sensing system. I personally never experienced it but I heard from a few people; when they got close to the water their aircraft started to descent.
Turn on the Sensing System
In the DJI Go 4 app, you can turn on the sensing system to avoid crashes. Basically, the drone is continuously mapping the environment and stops whenever it runs into an obstacle.
Not all drones have sensors on all sides. For example, the Mavic Mini and Mini 2 have only one sensor at the bottom.
The Mavic Air 2 has more but still not enough to cover all the sides because the upward sensor is missing.
Fortunately, the Mavic 2 Pro has sensors on all sides, which helps you fly in an area where the environment is challenging.
On-screen Information
In the following chapter, I am going to show you what is the important information to be aware of while you are flying. Besides the default indicators, I created a page to explain all the displayed information, check it out here. Hopefully, this explanation helps you understand better and faster how to use your DJI App.
1. Battery indicator
Basically, this displays how long you can fly. The green line indicates how much time you have left. The yellow says when you should return home. The red line indicates you need to return home immediately.
2. GPS signal Strength
Shows the current GPS signals. White bars indicate adequate GPS strength
3. Photo/Video Toggle
You can switch between photo or video mode
4. Shoot/Record button
Tap to start capturing photos or videos
5. Camera settings
Change the iso, shutter, or switch to auto exposure in here. You can also select shooting modes or access to general settings.
6. Aircraft distance from the home point
Show how far your aircraft is from the home point.
7. Height from the home point
This is how high you are from the home point. You shouldn’t fly higher than 120 meters.
8. Map
This is pretty straightforward, it shows where your drone is on the map. And if you lose sight of your aircraft it can be a lifesaver to navigate back.
9. Intelligent flight modes
You can access the intelligent flight modes here
10. Smart return to the home
Tap this if you want your drone to return to the home point automatically.
11. Auto takeoff/Landing
Tap to take off or land
Before Packing Your Drone
Batteries
Check your batteries and charge them to the maximum. An example happened to me when I launched and noticed I have a low battery; the drone was already far away, so it had to land immediately, plus there were seagulls attacking my aircraft, but more on that later.
Controller
Firstly, make sure your controller is charged and check if the joystick nobs are in place; you will have a hard time flying without those.
Secondly, check if the right cable is attached to the controller. (DJI includes cables for both android and iPhone.)
Software update
Check if your drone’s software is updated. Turn it on at home and connect the DJI app to notify you if there is a new firmware version.
The updates can be huge the last one I downloaded was 225 MB. It can be a problem if you downloading the update through a mobile network. Not all of us have an unlimited mobile data plan.
SD card
I had this problem a few times; fortunately, the Mavic 2 Pro has an internal drive, but not all the drone has this feature. So make sure your SD card is backed up to your computer and put it back into the drone. Format it if it’s needed.
For a smooth video recording and faster data transfer, I recommend a 64GB SanDisk Extreme pro card.
Phone
For most types of drones, your phone will be your screen for the controller. This is where you will see the video stream and have additional controls and information. Therefore it’s vital to have it fully charged.
It’s always a good idea to carry a power bank with you just in case you need it.
Precautions Before You Launch
To fly more comfortably, check these simple steps. Whenever I go out, I always check these things before launch.
- Check if you can fly in the area in the UAV Forecast app
- Make sure that you launch your drone from a clean flat surface
- Pick a reference point near you to help navigate back to your position.
- Check the battery and make sure it’s fully charged
- Avoid birds, mostly seagulls, they could attack drones
- Pay attention to powerlines. Hard to see on screen and can cause severe damage to your drone.
- Make sure your visual sensing system is on
Drone Photography Compositions
It will be a different perspective from the air and provide new possibilities to play with new compositions.
Like in any type of photography, the composition plays a vital role in an image’s success. Therefore it’s essential to master your compositional techniques to create visually compelling images.
Comparing to a normal camera, fortunately, you have more freedom to compose these shots with a drone. So let’s see some basic composition techniques.
Rule of thirds
A standard and most common composition technique is to place the subject in the ⅓ of the image. The idea is that an off-center composition is more pleasing to the eye than a centered one — also a right way of using the negative space.
Diagonal lines
Use this classic technique with lines running across the image from one corner to another. In addition to this, try with a top-down shot for a good impact. Most importantly use elements like roads, rivers, shoreline, trees, or flower fields.
Leading lines
Use the elements as mentioned above with the birds-eye view. Let’s say you have a road or a river that leads to a mountain. Therefore, frame your lading line to start at the bottom and place the hero subject in the upper top third.
Isolation
It’s a great method to focus all the attention in one place and separate the subject from other elements. Firstly, you need to find a subject for it. For instance: a yellow tree that stands our or a lonely surfer near the shore or an island like in my picture. As you can see I used the rule of thirds method here ;).
Odd numbers
An uneven number of elements attracts the viewer’s eye. Firstly, find 3 or 5 elements that are aligned in an interesting way. Secondly, use the bird’s eye view or the top-down view angle, just like I used in the picture above.
Textures
You have no idea how interesting it is from the sky. I am always surprised by the textures that I find in nature. For example, I shot this picture just a few meters from the beach. But from the position I was standing, I only see some small waves and the blue ocean.
So look for patterns near the shore or above a river. The forest has compelling character as well. Practice and search for exciting textures and you will be surprised what you find.
Panorama
The new models have built-in panorama modes, but you can easily create and map your panorama. The one thing that I Love with panoramas that you can have a huge resolution since you are stitching multiple images together.
Horizontal
Take pictures from the left side of the view, then turn the drone to the next section. Repeat this process until you cover the area you want.
Vertical
If the subject can’t fit your frame, take a vertical panorama starting from the top to bottom. It is basically the same process but in a vertical direction.
Before You Press The Shutter
Once you set your composition, it’s time to check your camera settings. Do you have the correct aperture for the sharpest image? Is your exposure correctly balanced? Ask these questions from yourself.
Ask these questions from yourself if you don’t want to have surprises once you edit your images, check these settings before you snap that photo.
Shoot Raw
If possible and your drone supports it, then shoot in raw. It will give you more flexibility in your editing program. For instance, you will be able to recover the shadows and highlights much easier.
Histogram
This one feature can quickly help you to expose the image correctly.
In a nutshell: If the histogram is touching the left side, then your scene is underexposed. On the other hand, if the histogram touches the right side, the image is overexposed. So adjust your settings accordingly.
Iso
ISO measures the sensor’s sensitivity, and just like with regular cameras, you can change its numbers. Although big cameras can deal with high iso pretty well, drone cameras don’t have this benefit, so the best is to keep the ISO as low as possible, in most cases, at 100.
Aperture
If you can manually set the aperture, find the sweet spot for the lens. It’s the range of aperture numbers where the drone’s optic is the sharpest.
For example, the Mavic 2 Pro is the sharpest between f/2.8- f/4. If I shoot at f/7 or f/11 my images are noticeably softer. The higher the f-number, the softer your image will be.
Post-processing
Note: post-processing is absolutely a personal preference, I am only sharing the techniques that worked for me the best.
It is easy to overprocess an image; I used to over-process my images in the beginning. But over the years I learn how to find a great balance. Usually, I am always trying to apply natural post-processing techniques that give a more sophisticated look.
Horizon
Check if the horizon is straight, nothing is worse than a crooked image.
Shadows & Highlights
Be easy with on these sliders if you go too far your image will look very hdrish and noisy. Try to maintain a more natural look.
Lens correction
What it does to restore the lens distortion and remove the chromatic aberration. So make sure you apply this, it’s literally two clicks.
Sleep on it
Give the image some time and wait for a few days before publishing it. Check the image the next morning with fresh eyes, I can assure you will make some changes. It’s a simple but great way to avoid mistakes.
In Case Of Emergency
There are multiple ways to have a difficulty that can result to lose your drone. You could bump into a tree or land in an unexpected area. For instance, animals might attack your aircraft. To prepare for these scenarios, let’s see some common emergency situations and discuss how to solve them.
Important note: Every situation is special the solutions I mention below are simply based on my experience, therefore I can’t take responsibility if you lose your drone. The best thing you can do to have DJI Care refresh.
Emergency landing
There are some scenarios where you may need to land your drone far from the launch/home point. It happens when the drone is running out of battery in most cases.
Hopefully, you are not above open waters, where it is quite challenging to land your drone without any water damage.
So let’s assume you are flying on the mainland. Pick up a clear area, such as a meadow or a trail, and prepare for an emergency landing. Firstly Point down your camera and descend to your desired area. Once you landed, you should still able to see the GPS location of the aircraft; therefore, you can use your phone to navigate to its location.
Lost signal
It can happen when you fly out of the controller coverage or if there is some interference with the radio or wifi signal. The drone will notify you with a warning message. But It’s important to mention that your drone will not disconnect from the controller immediately and wonder by itself around.
Once you see the (weak signal) message, try to navigate back to your launching point. If it’s not working, press the (return to home) on your controller.
If you completely lost the visual connection and not getting the video stream to your phone, you can still use the return to home option.
One important thing here is never to switch off the controller in any of these scenarios. The video stream will cut off way earlier than the radio or wifi connection with the controller. So you’ll able to press the return to the home button.
I can’t see my drone
Although it’s essential to have a sight of your drone, sometimes we lose sight.
Navigate back to the reference point that you picked before launch. If you missed that step, use the map function to fly back. If none of the above works press the return to the home button.
Bird attack
Some birds are sensitive to drones and could attack your drone that can be very dangerous for both. Firstly your device is probably falling, and secondly, the bird will get hurt. We don’t want any of that to happen.
Birds are just trying to protect their territory and protect their nests. They can be very aggressive in the spring season.
If you encounter a bird attack, go immediately upwards. Since birds can’t ascend that fast, you have a high chance to escape.
False sensor reading
There are some edge case scenarios when the sensor is reading false data. Once I flew in fog, I flew upwards above the clouds to take some pictures of the rising haze. When I flew back, my home-point was still covered, and the bottom sensors indicated the fog as solid ground; therefore, I couldn’t perform the landing.
I had to switch off the obstacle sensing system to be able land.
If you fly close to a lake or river, or any transparent surface that can give a false reading, your drone might behave weirdly. Some of my friends reported when they get close to the water the aircraft started to descend.
Conclusion
Drone photography is fun once you know what important steps to keep in mind. Follow this guide and come back if needed to double-check the crucial steps.
Over time you will be flying more comfortably, and your aerial photography will improve.