
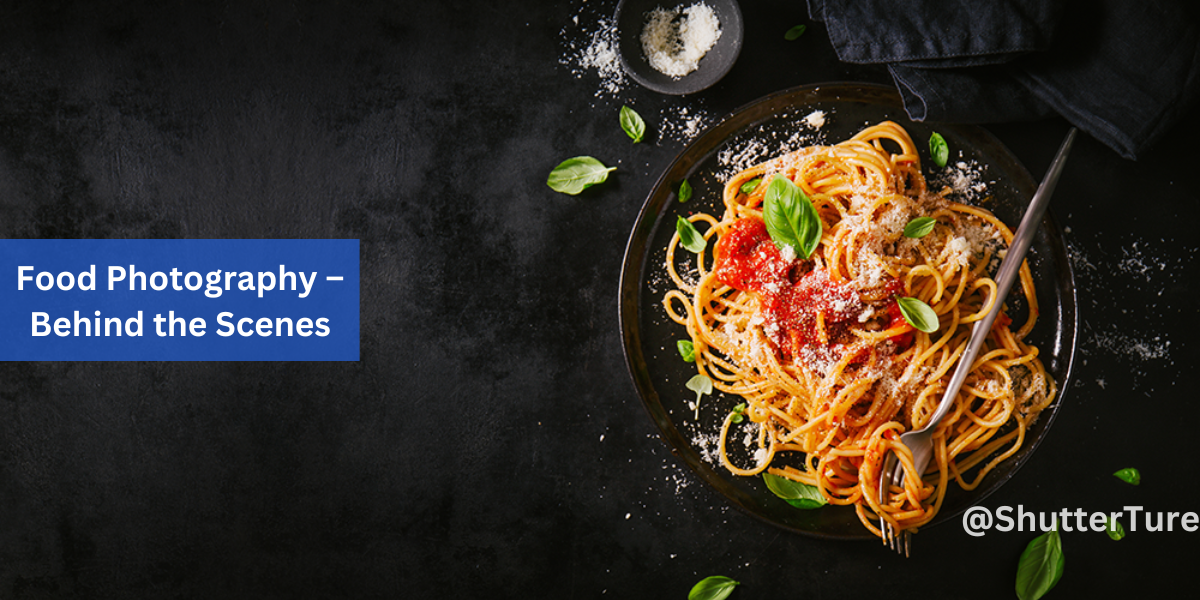
With this article, I’m giving you an insight into how I do food photography. I am sharing the story of the beginnings, the process flow, and the used techniques, and some ideas on how I improve food photos.
A bit of history
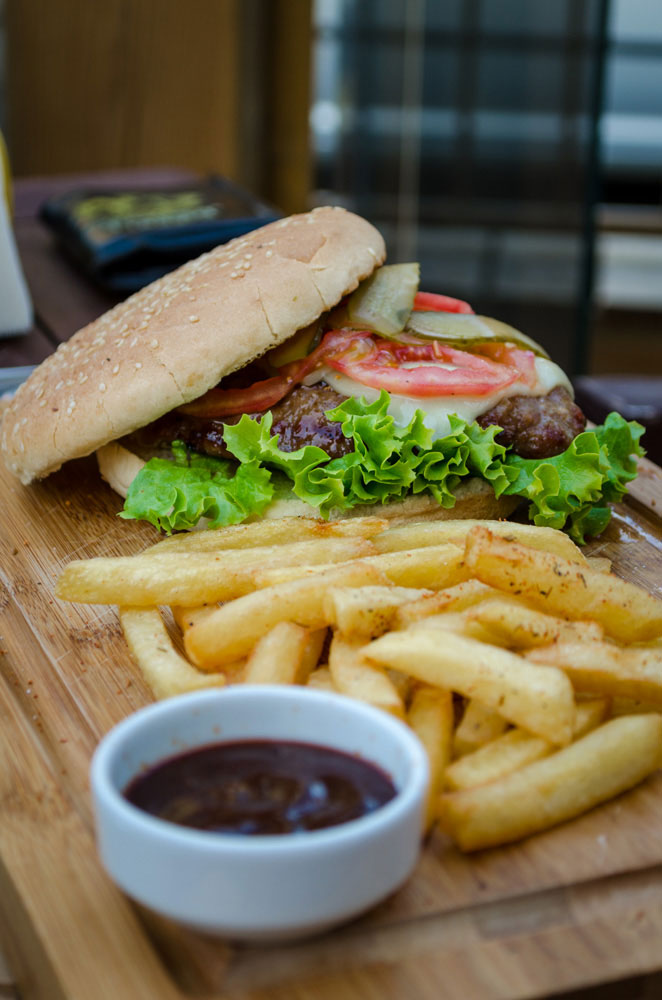
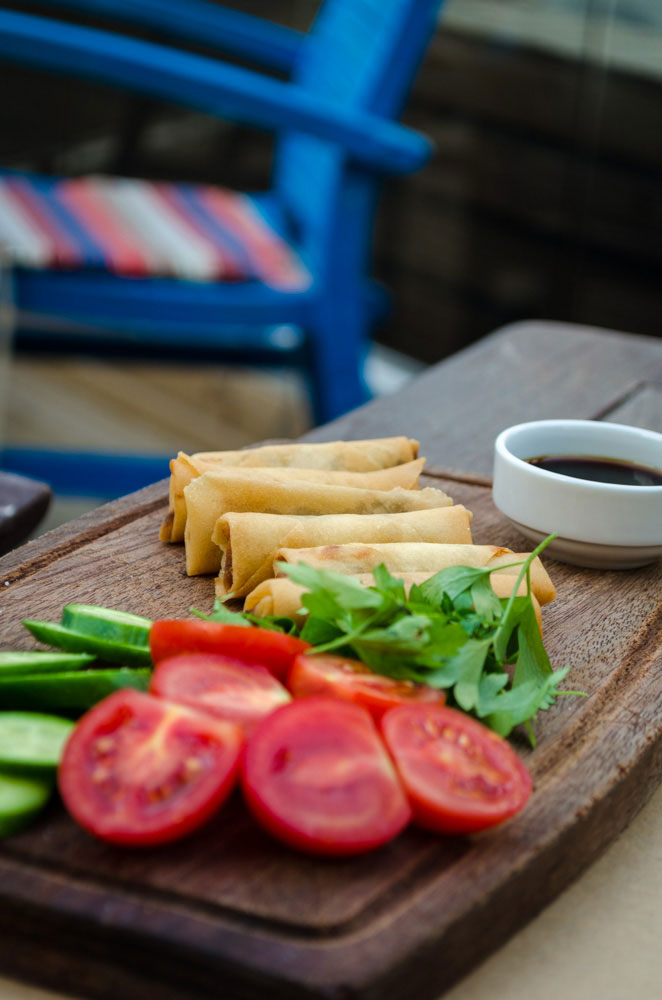
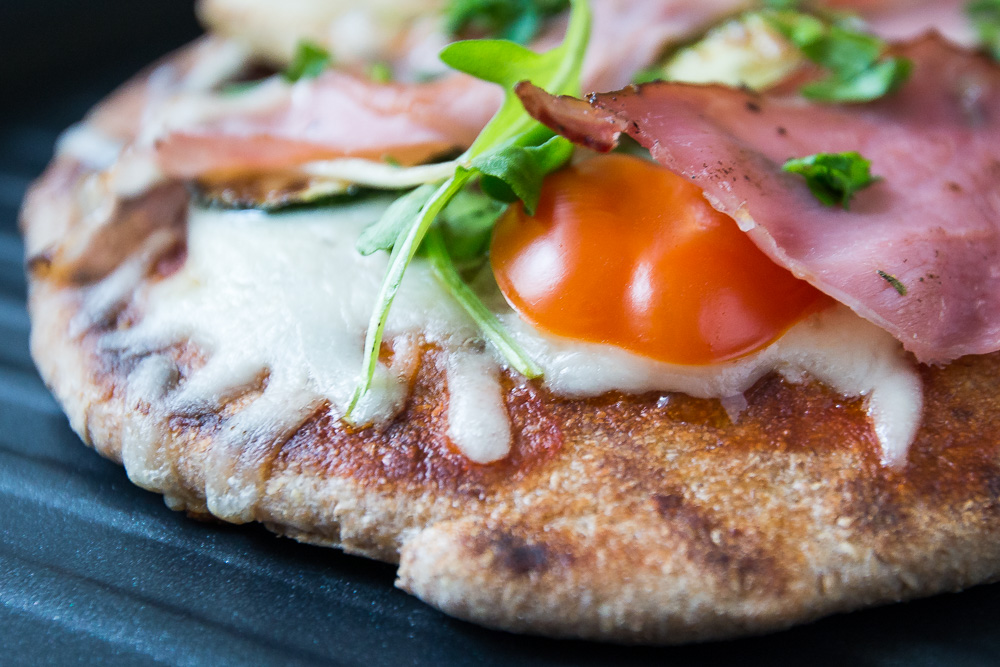
In 2014, I spent a week in Istanbul with my friends. Walking down the streets, It was like a gastro orgy. Aromas, scents, flavors, and tastes narcotize everyone in this paradise of street and food photography. All at once, we saw a neat eatery, a neatery 🙂 where the atmosphere was really pleasing and unique so we decided to eat something there. When we got our meals, it looked so enticing and appealing that I couldn’t help taking some pics. So my adventure with food photography started here with these two images.
My journey with Cleansanity
One of my colleagues and her sister have a blog dealing with healthy food and nutrition called Cleansanity. One day, they were to send some recipes with images for a magazine being published every 3 months. Knowing each other, we agreed that we were going to work together on it. It was really fun and the results were promising enough to carry on together. Since that, we continuously provide content for magazines and for ourselves as well.
Equipment for food photography
Photographing food doesn’t require any special equipment or tools, however, there are some items that are really good to have in certain situations.
Regarding the camera, it is no object. I mean, a more professional camera is a good choice when working in certain conditions, or the final resolution and dpi count. However, if the lights and the composition are well set, it doesn’t matter if it’s a phone or a 10 thousand dollars camera. The only crucial issue here is the depth of field. If we like it to be shallow, a phone may not be a good choice.
Let’s begin with stabilization. If the light conditions are not good enough to shoot handheld I use a tripod. I also use it when I have a “stage” with a pre-set environment. For example, I set the lights, the background, the shooting angle, and direction and the only thing that’s missing is to organize the scene with the subject.
As for lenses, I always shoot between 35mm and 200mm with my fx camera and It’s more than enough. As I experienced, prime lenses work really well for food photography and macro lenses can come in handy as well.
In addition, I occasionally utilize some sort of lighting setup, reflectors, light modifiers and A-Clamps. For cleaning, I usually use microfiber towels and cotton swabs for small stainings.
Preparing for a food photography session
Before anything else, the most important thing is to have a list of the meals we are going to shoot.
After we have it, I do a little research. I try to figure out how we could bring out the best of the dishes and what could be the best way to photograph them. We flick through some images by other photographers to get ideas and inspiration. I love considering the colors and try to choose pots, trays, serviettes, and props that suit well.
What’s more, for each meal, we make preconceptions, sorts of scenarios.
After we set everything together in the head, we gather everything we’ll need. In most cases, our stock is limited so we work with what we have. In this case, we happen not to have the appropriate accessories so we have to be creative and find other solutions.
It can happen, we don’t have too much time for preparing and we have to make it really quick. Of course, in this case, we have to improvise and try to bring the best out of the situation by being creative as much as we can.
Props and accessories
As for props and accessories, aside from the basic parts like a knife and spoon, there are more factors to consider. I usually examine the colors, their provenance, their relation to a popular custom, and if the photos are for a certain occasion.
Colors
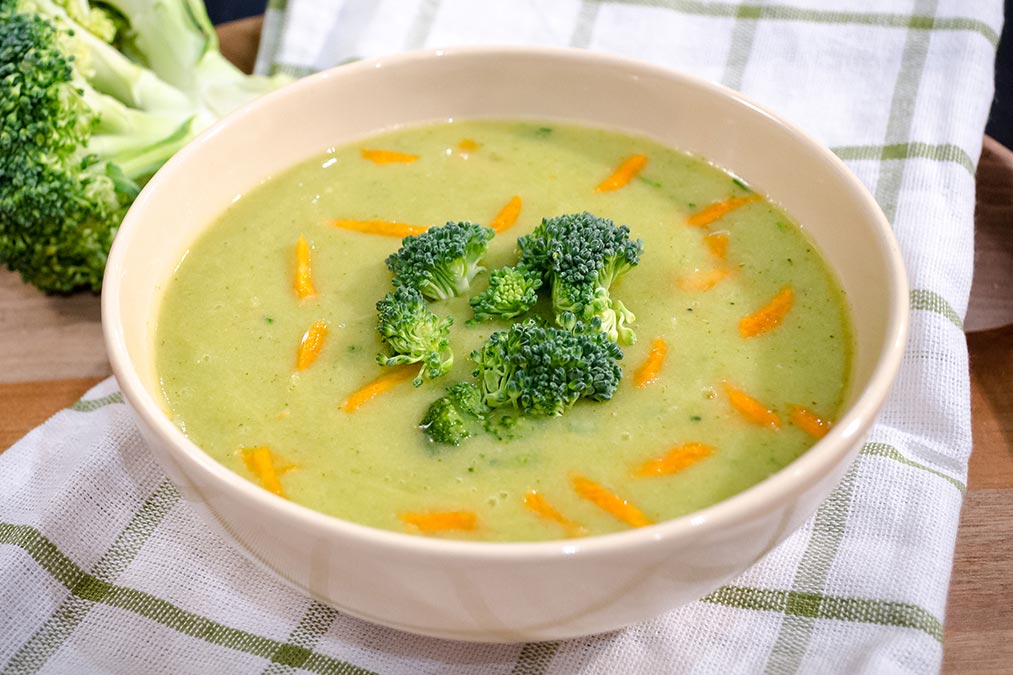
As for colors, we always try to find props that enhance the meal while paying attention to the harmony between them. We happen to use the same colors with different tones or complementary colors, however, they mustn’t keep the viewers busy.
Authenticity
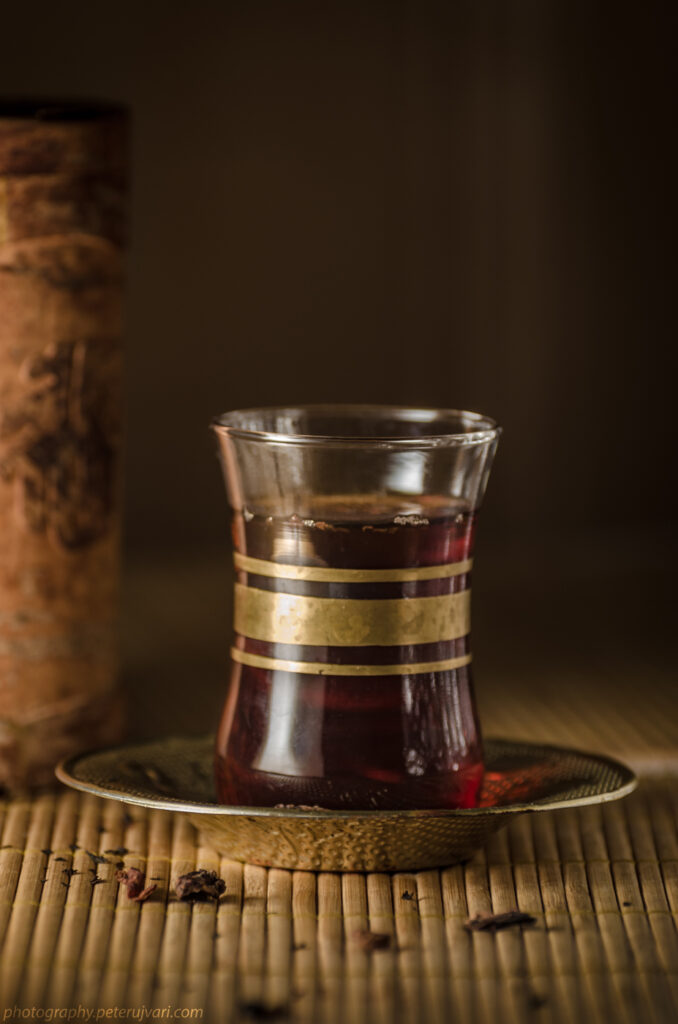
Furthermore, I happen to shoot some authentic foods or drinks when the origin plays an important role or this is what makes it a bit different. In these cases, I try to emphasize it by putting it into an authentic environment or context. In most cases, I have to make this environment artificially so I get as many relevant accessories as I can.
Moreover, if the subject is related to a popular custom, it’s worth walking around the issue in certain cases. It might add some interests to the final result.
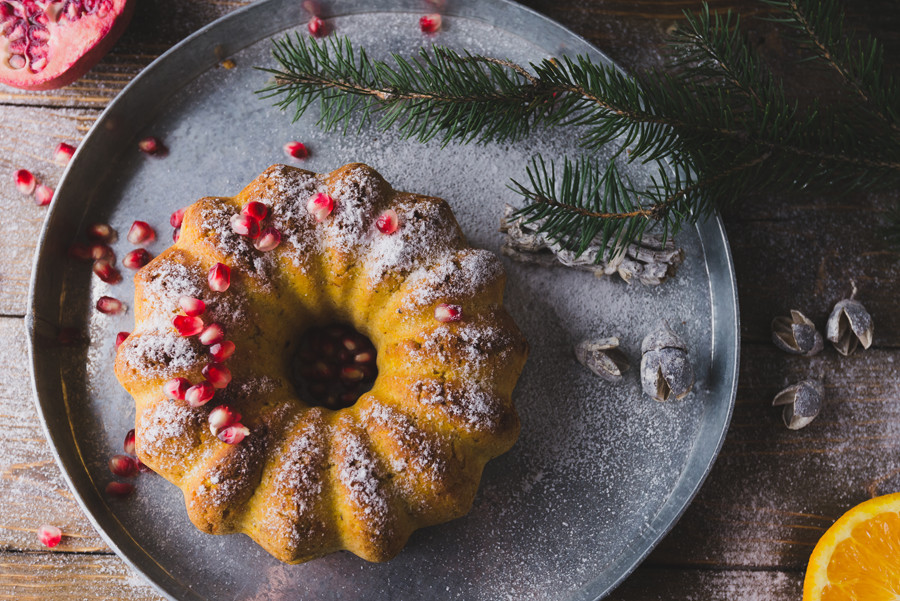
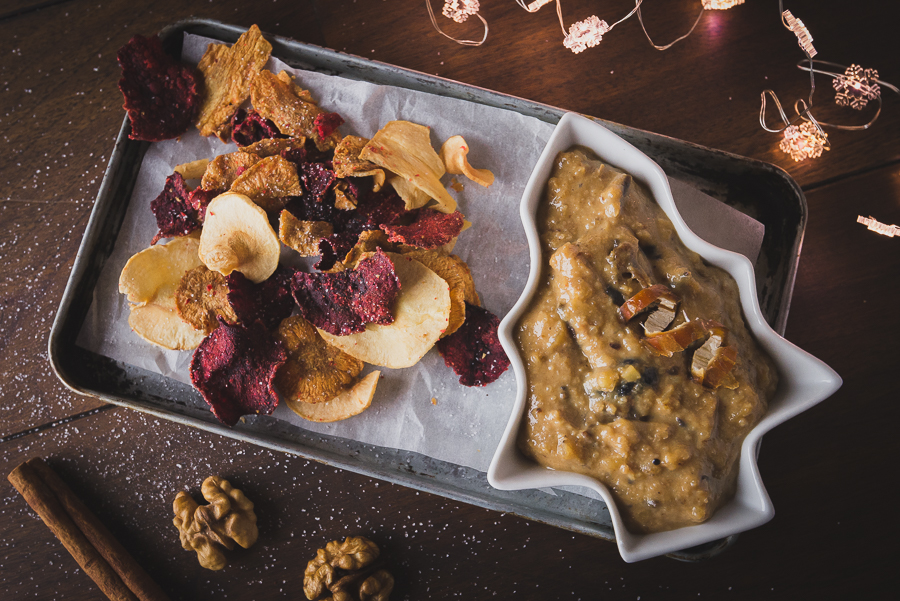
Occasions
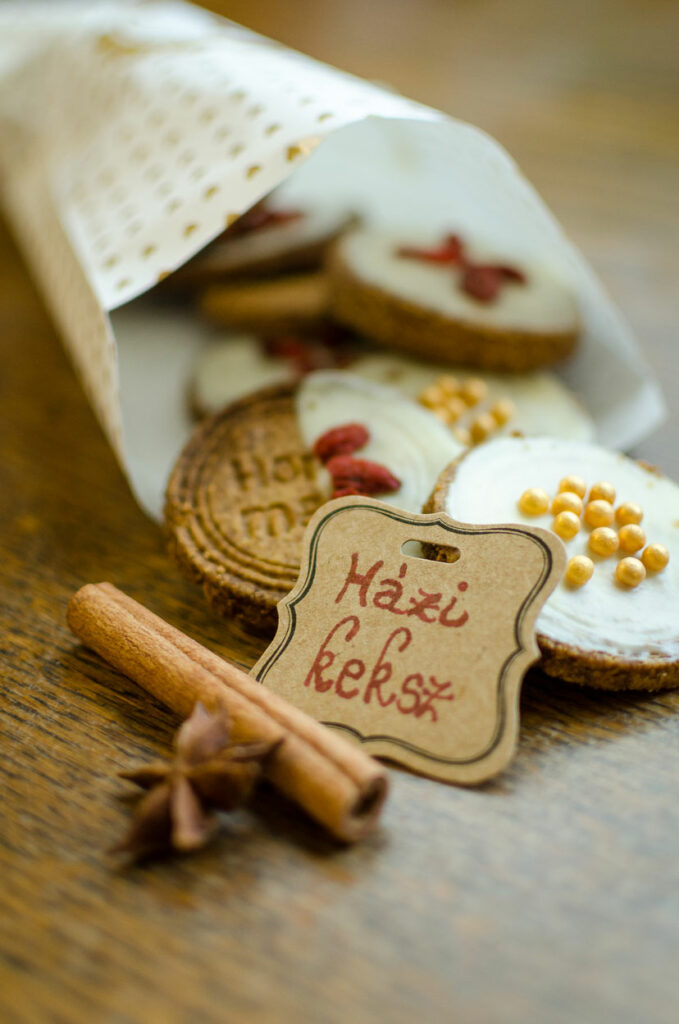
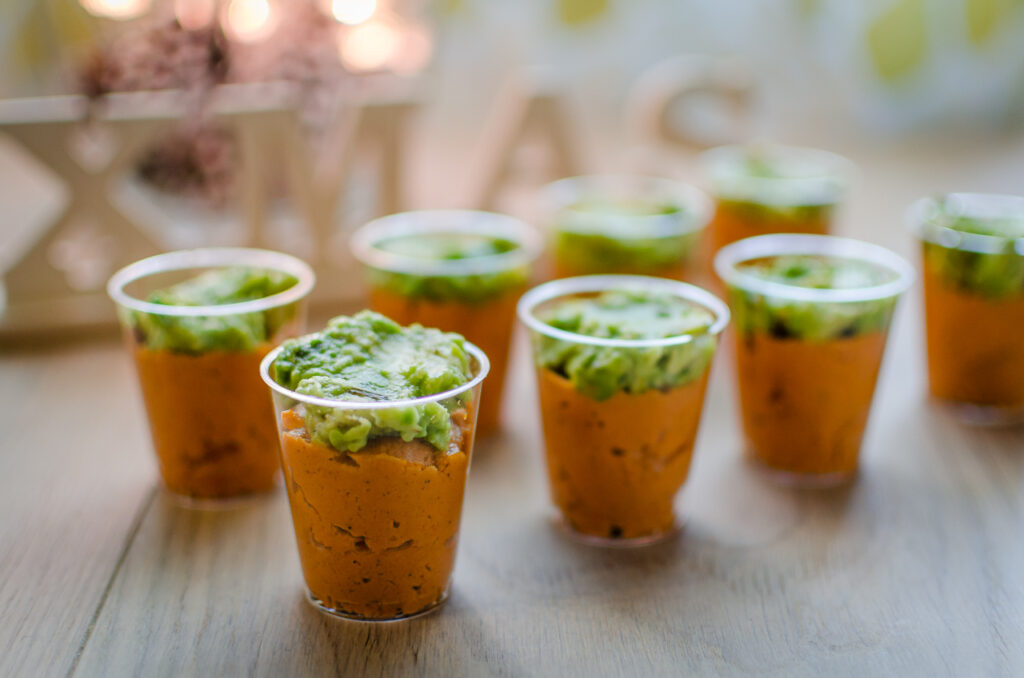
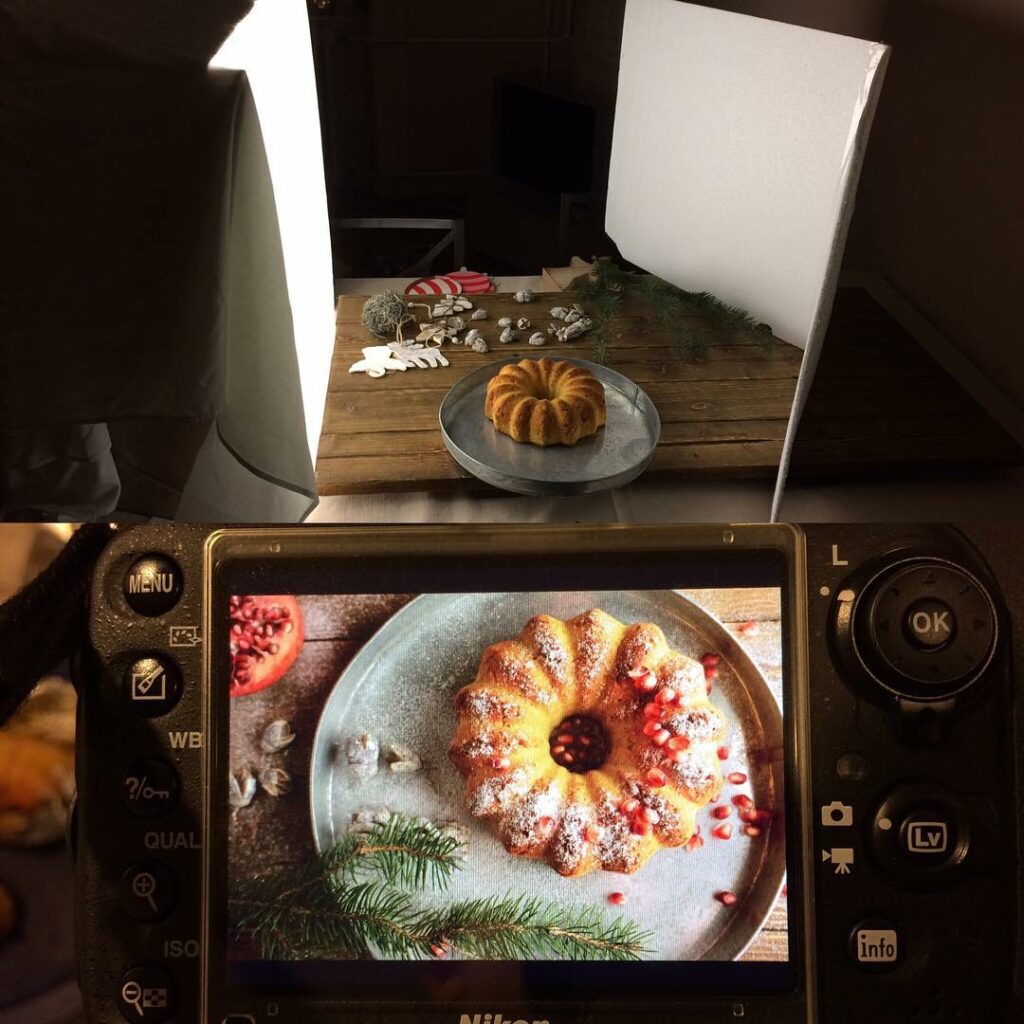
When the photos are taken for a special occasion, for example, Christmas, it’s a really good idea to get some props that are typical of that certain event. It can give the image a kind of mood and can remind people of tastes or feelings.
It’s never enough of props
As I experienced, in food photography, the more props and accessories are ready at hand, the more chance you have to find something that can improve your images. It can be anything from wooden spoons to tea towels or pastry cutter. Furthermore, we use flowers and plants sometimes that can be really decorating.
Lighting
Lighting in food photography is a wide topic. We can work with natural light, continuous artificial light, and speedlights or strobes. I have watched a lot of videos of professionals using speedlights and strobes to make stunning food photos, however, I have only used natural and continuous light so far, so I’ll be talking about these two types. In addition, I’ll pan out about reflectors, light modifiers, and other practical tools that can come in handy.
Natural light
As I experienced, natural light is awesome for food photography. I don’t need any expensive lighting setup and I don’t have to deal with the color temperature of my bulbs and so on. Moreover, I can shoot outdoors and indoors as well, so I have more opportunities to be creative.
Outdoors
Shooting outdoors, I try to avoid direct sunlight. Just like when shooting portraits, the indirect light works very well. Some of my most liked outdoor food images have been taken on overcast days. The sky behaves like a large softbox and provides nice diffused lights. However, when it’s sunny, I generally search for a shady area and set up the scene there.
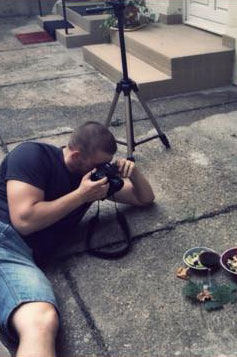
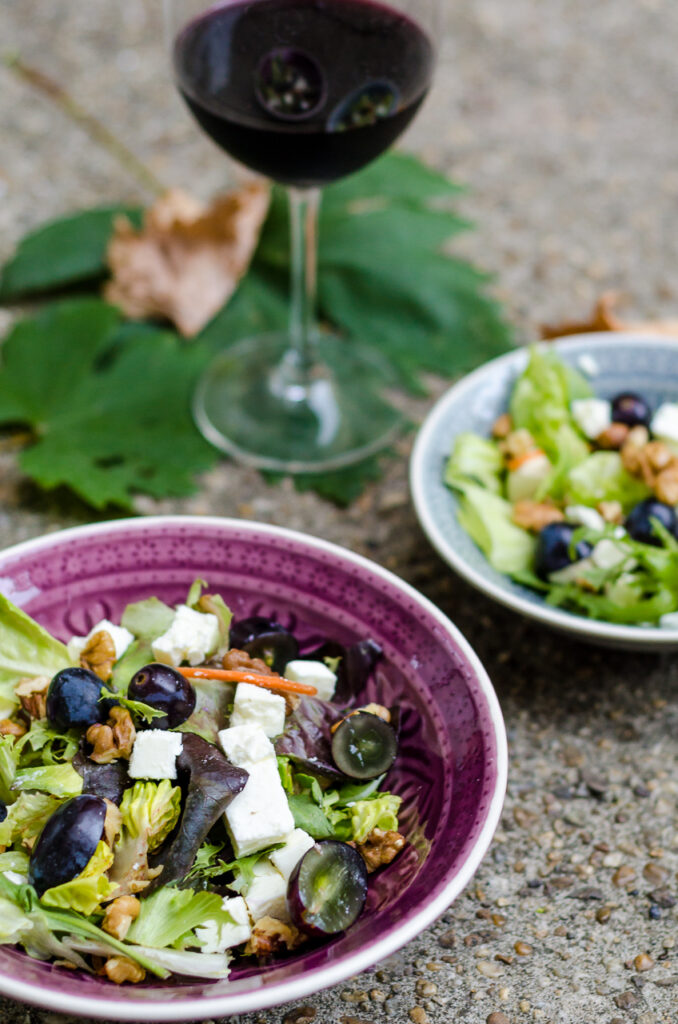
Shooting outdoors, I try to avoid direct sunlight. Just like when shooting portraits, the indirect light works very well. Some of my most liked outdoor food images have been taken on overcast days. The sky behaves like a large softbox and provides nice diffused lights. However, when it’s sunny, I generally search for a shady area and set up the scene there.
When there are no shady areas around, I utilize a kind of light diffuser. It can be a professional translucent photo reflector or just an extended, white bed-sheet to obstruct the path of the sun rays. I don’t limit myself to products specialized in photography. Instead, anything around me can answer the actual purpose.
Indoors
The first thing I do before shooting indoors is looking for a huge window where a great amount of light comes in. It’s an ideal place for food photography. If there is direct sunlight, I can use the mentioned light modifiers or diffusers. In addition, sometimes, a simple curtain in front of the window does the job well.
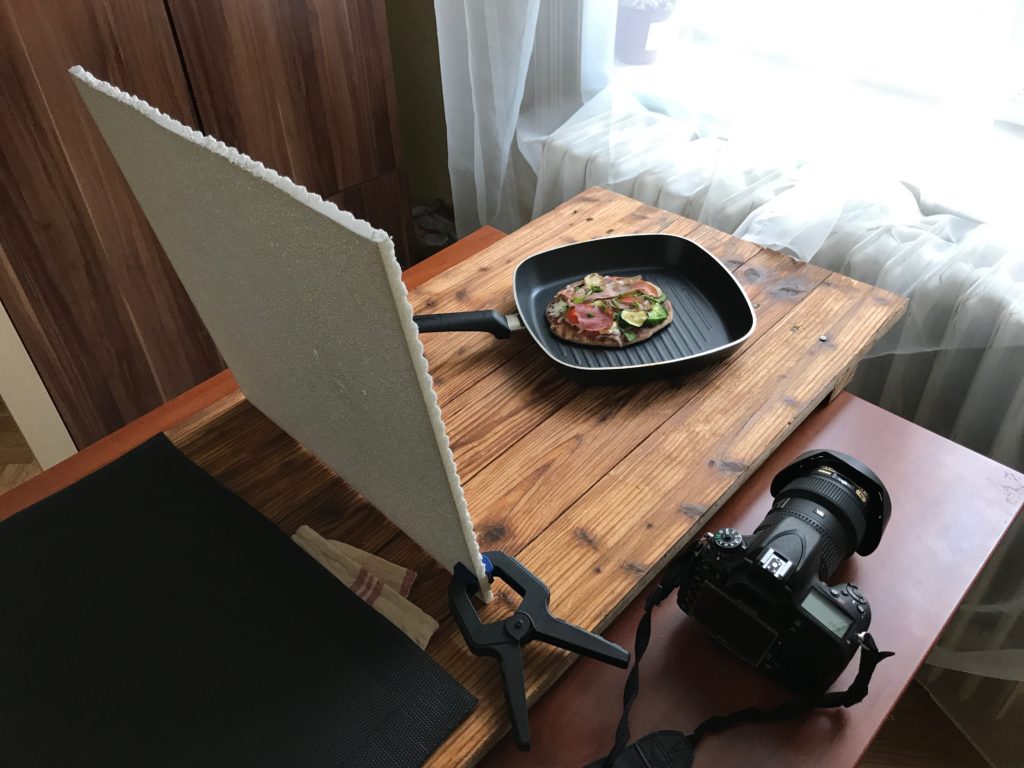
Working with natural light I always switch off all the other lights, since, the quality and color temperature of them are different.
Drawbacks of natural light
Unfortunately, natural light has some drawbacks for some reasons. It’s unpredictable. As it’s getting darker and brighter, you have to adjust your settings all the time. Moreover, its color temperature can change as well so we have to check our white balance too.
Another big issue here is the time. The possible times of taking photos get restricted to a smaller time span during the day and it makes a bit harder to organize a longer food photography session with the others.
Contrarily, in spite of these drawbacks, I really like working with natural light so I suggest you give it a try.
Artificial light
When I work with an artificial lighting setup, I usually consider the following things.
Diffused light and soft shadows
First, I aspire to assemble a setup that provides diffused light with soft shadows. It’s really important to me, since, I don’t want harsh and hard drop-shadows. It just looks tacky for me in most cases. Of course, there are exceptions, however, soft and tender lights work well for me.
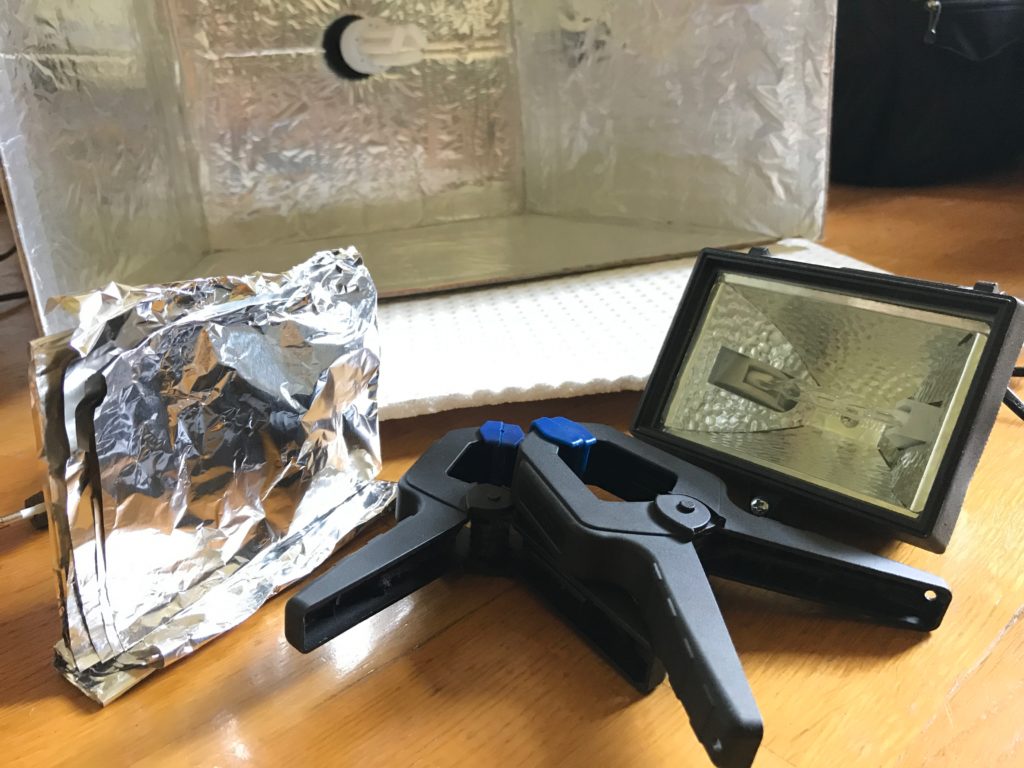
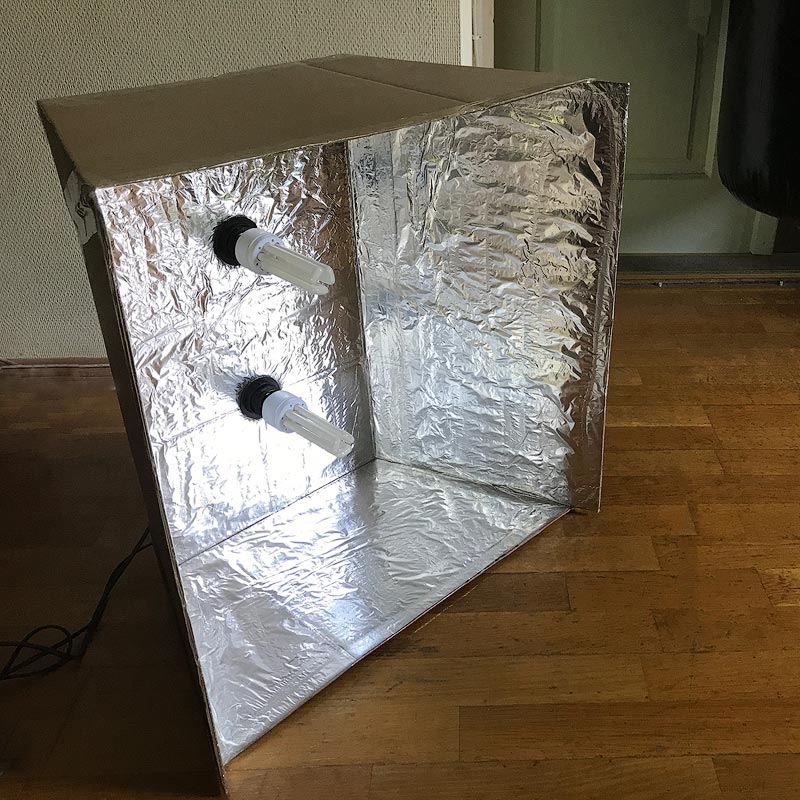
To produce these kinds of light, one of the best ways is using softboxes. These can be professional ones or these can be made at home on a budget. As for me, I use a homemade box and it’s in good order. There are numerous tutorials on how to assemble your own tabletop softbox and I think it’s worth fiddling with it a bit.
If you haven’t got any of these sorts of boxes, there are more possibilities I have tried out and you can try out as well. For example, with a simple desk lamp or a spotlight and an extended bed-sheet, a very cool “fake window” can be created.
Color temperature and tint
The second thing that I usually consider is the color temperature and the tint of my multiple light sources. When I don’t want any special, differently colorized lighting setup, I take care of having my light sources with the same properties.
Practical tools for a lighting setup
In the case of additional tools, I use just a few of them. To fill up the shadows, I work with tinfoil, polystyrene, and foam rubbers as reflectors. In addition, to diffuse the light, some kind of diffusers can come in handy as I mentioned before. Moreover, to position this stuff and make them stand properly, the A-Clamps are my best friends. They are cheap, can be bought in different sizes and are really useful and I can take much advantage of them.
Taking photos
Before starting to shoot, we think through which meals or drinks will require special treatment. Some of them look fine only after it’s done and after a couple of minutes, its consistency or colors start to change. It can happen that a photo of a hot drink looks better if its steam is visible. Moreover, working with ice is the same, of course. In these cases, we have to be really fast so everything has to be arranged and prepared before the subject is ready.
During taking photos, I always try different angles, directions, and distances. I shoot the actual subject in landscape and portrait orientation as well.
The perfect exposure
In general, the best way is to expose to the highlights, however, in food photography, we can sacrifice some details in the brightest areas to get our subject perfectly exposed.
The lights can happen to come from an angle that makes it awesome, yet, our dish is too dark. Another situation is when the subject is too dark compared to its environment. In this case, I adjust my settings to brighten up the image with no fear. If it works, it’s ok. If not, then I find another way to take that picture.
Sometimes it’s really hard to find the balance between the bright and dark areas. Luckily, could be more solutions. As for me, I like using my little tinfoils to reflect some light back to my subject to light it up a bit. I can cut it to the shapes I need and is really flexible so it’s really practical.
If nothing helps, it can be probably solved with post-processing.
How to make it alive and look fresh
In the case of refreshing drinks, water drops on the glass can make it look cool or new-drawn. I just use a sprayer and splash some water on the cup. We can reach almost the same or cooler effects by putting it into the freezer for a couple of minutes.
As for meals and dishes, there are many ways to bring back that shiny and juicy look that makes it absolutely enticing. I’ve heard about a lot of methods from using fake food to working with engine oil, however, we always eat our “models” so the only technique I apply is to grease it with a kind of edible oil.
Tips for decoration
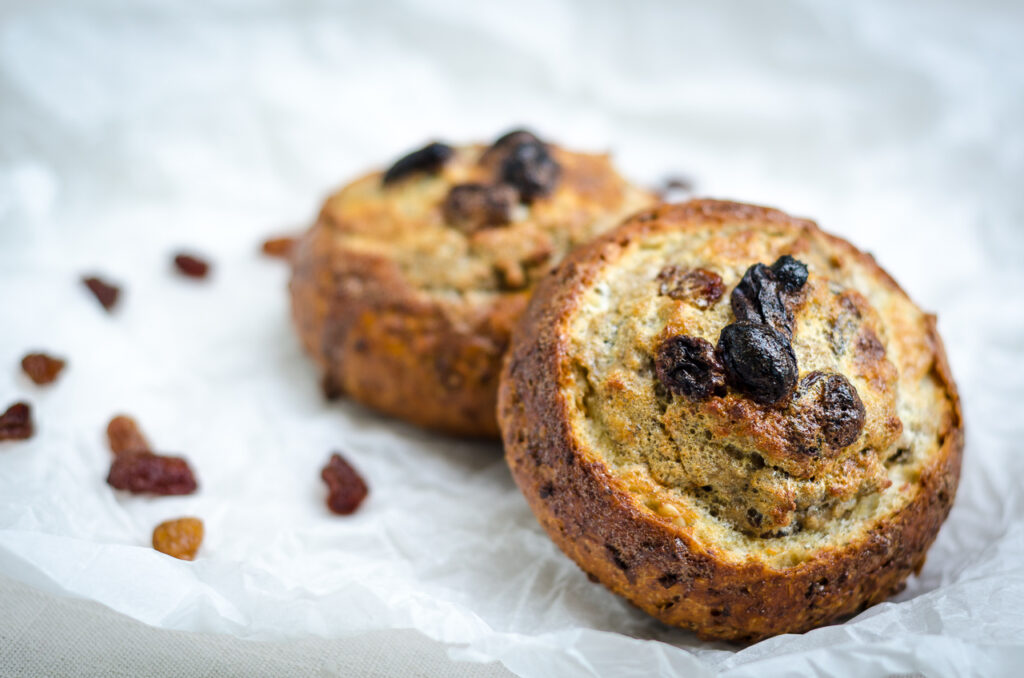
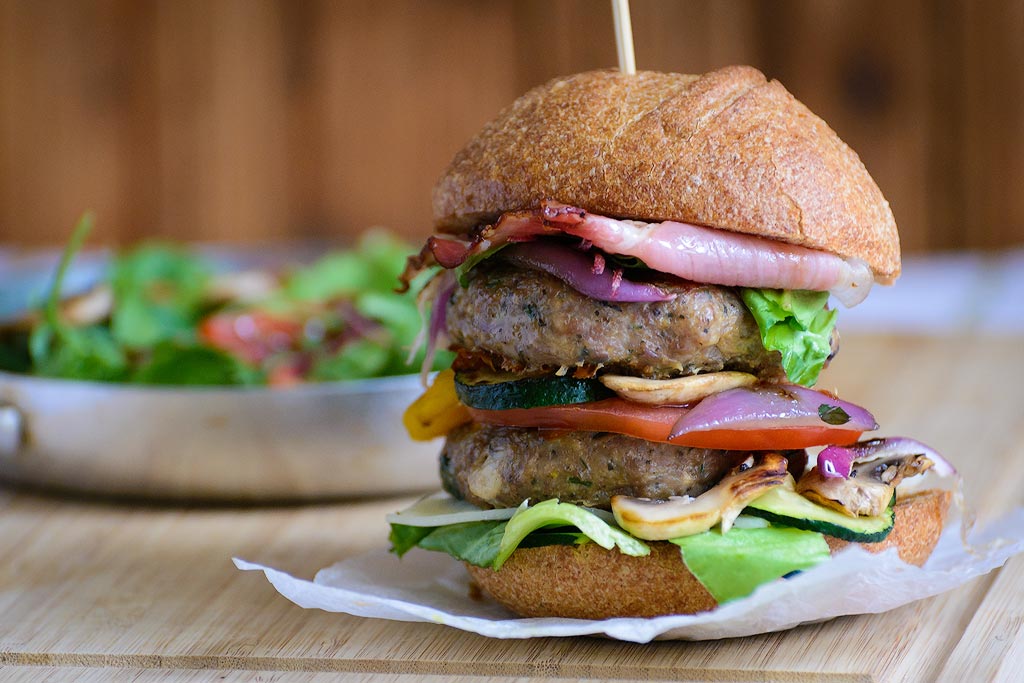
For decoration, besides the mentioned props and accessories, I’m likely to use simple things like herbs and raw materials. I think these can be more decorative than anything else.
Herbs and plants look fantastic on the top of the dishes or drinks. As for raw materials, I frequently scatter tiny bits of them around the subject. Not too much, just to fill up and give some interest to empty spaces.
Personally, I really like to play with these kinds of ornaments and I suggest you give it a try.
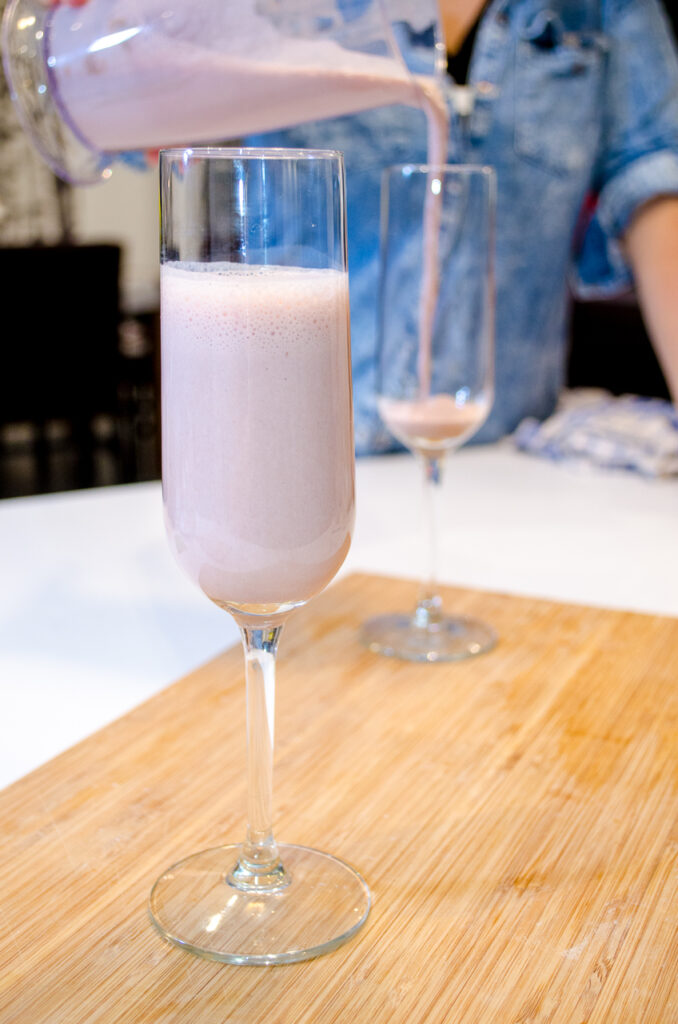
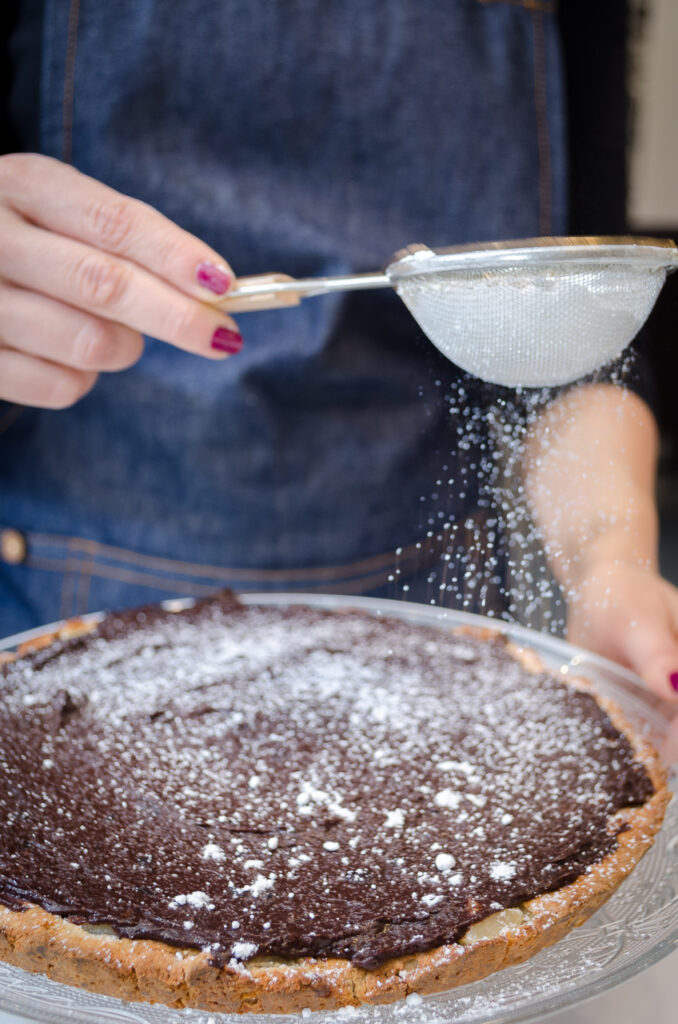
Try to capture actions
With actions and movements, our images can change from a static state to a more dynamic one. Sometimes, I involve human elements and it’s a nice way to show certain phases.
Use reflections
Using reflections can be stunning if we do it right. It only requires a glossy surface.The best way to do it is laying down a pane of glass on a dark material and put our subject on it. However, make sure it’s completely clean, since, even the smallest stains can get visible on it.

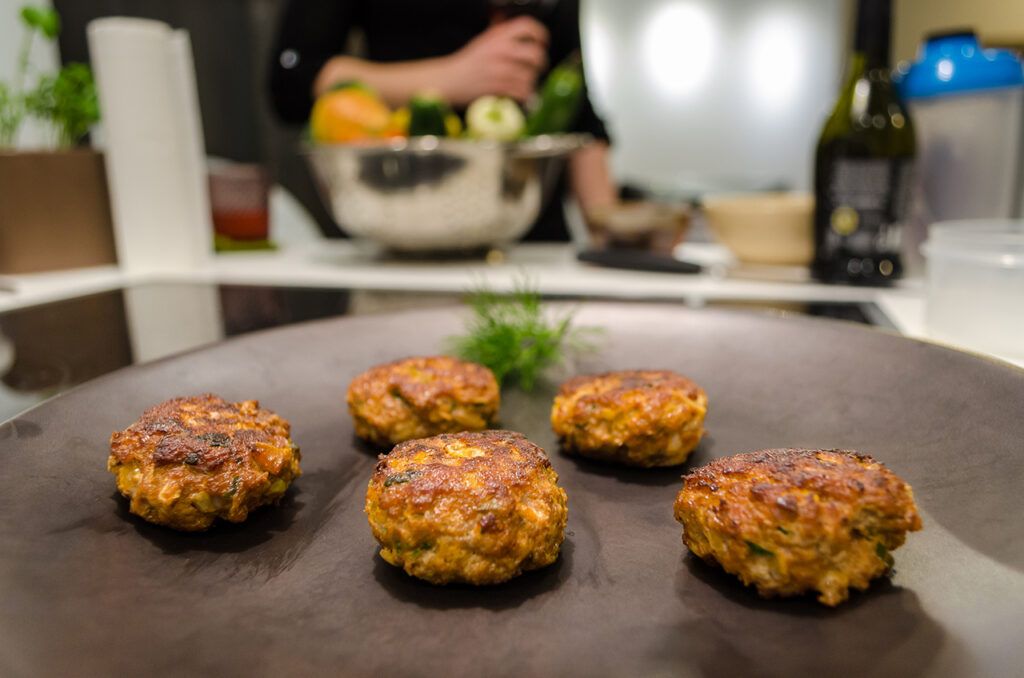
Involve the environment
When there is a neat environment, once in a while, it’s worth trying to involve it. Putting some human elements in the background might make the image more lively.
Final thoughts
This is a little insight how we do food photography, however, it’s just our ideas and experiences. We still have a lot to learn but I hope you’ve found some useful information and have found it interesting.
Have you evewr considered about including a little bit more than just
your articles? I mean, what you say is valuale and all.
Nevertheless think off if you added some great
graphics or video clips to give your posts more,
“pop”! Your content is excellent but with images and clips, this website
could definitely be one of the very best in its
field. Excellent blog! https://www.waste-NDC.Pro/community/profile/tressa79906983/