
Avoid post-processing mistakes, it takes a lot of time to learn, but you can always practice creating better photos. When I started landscape photography I made a lot of mistakes in post-processing and I still do sometimes. In the beginning, I often over saturated or added lots of contrast to my images. With these tips, we try to help you to make properly processed photos.
Although these tips are only suggestions, we can’t tell you what to do, we only try to guide you to avoid these basic post processing mistakes. Let’s see what are the most common ones.
Lens correction & Chromatic aberration
Some people forget this step, however, this one is the first what I apply in Lightroom. It corrects the lens deformation and removes the chromatic aberration; red or purple colored edges.


Crooked horizon
I often see this mistakes even on pro photographer’s photos. For me, it is very crucial to set the horizon properly, and there are very easy methods to avoid and correct this issue. Primarily I always check the electronic level on my viewfinder, in this case, I don’t need to correct it in post.
In Lightroom or Photoshop, you can use the crop tool to correct tilted horizon line. If the horizon is a very slant, you might lose some parts of your image, that case I use the warp tool to correct lost edges.


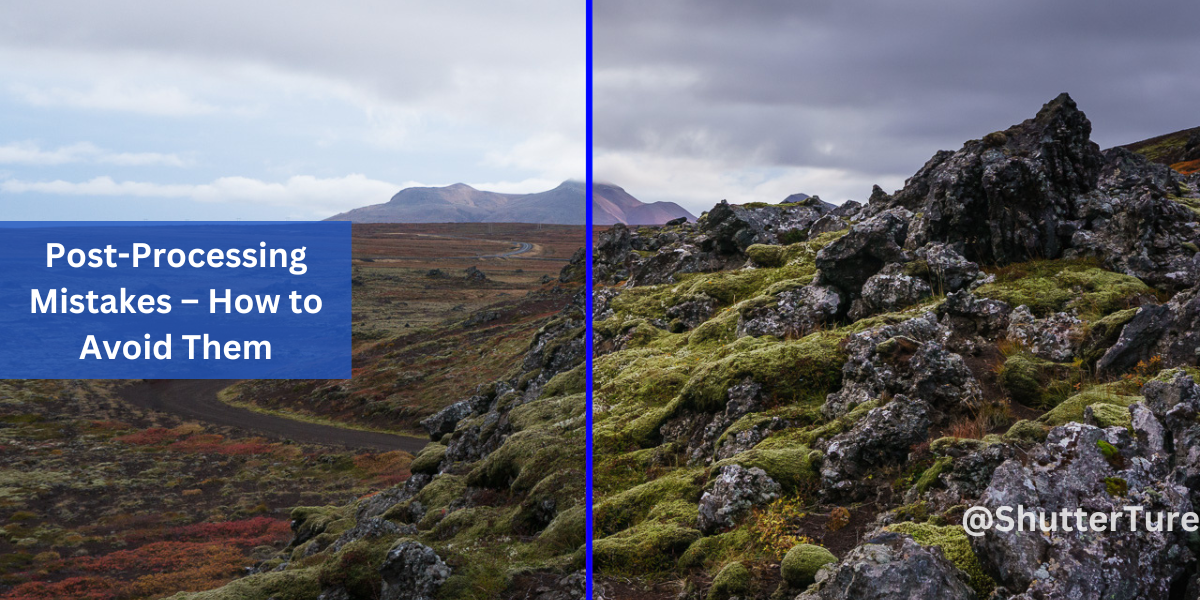
Saturation
Instead of adding an overall saturation to your images, try to do it separately, in this case, you can manage precisely how much hue, saturation, and luminosity you want to add to a particular color channel. Use polar filters to enhance the overall saturation, which adds more natural color pop to your pictures.


Too much contrast
Contrast is some of the most important steps in post processing, although we can easily overdo it. Too much of clarity and contrast would make your image unprofessional. Instead of adding it globally to your image, try dodge and burn technique to add only on the necessary parts.


Halo effect
This effect appears when we recover too much from the highlights and shadows. It usually appears on highlight edges, where darks areas meet light areas. The best way to avoid the halo effect is to use a separate masking for the sky.


Shadows
When I try to lighten very dark shadow areas it often leads to very noisy images. If you want to avoid this mistake, try to take multiple exposures of the same scene. This case you will have both the highlights and shadows covered. It’s not always necessary to recover all the shadow details, you can simply leave these areas darker.


Highlights
Overdoing the recovery of the highlights can make your image look very weird and HDR-ish. Using the same technique, what I mentioned above could be one solution, but what if we took only one picture. Well, my opinion is to never go too far with the highlight slider, even a blown out sky could be a better approach than a poorly processed one.
Over sharpening
I always make my sharpening process on a duplicated layer of the final image, then I add a mask, and I only add sharpening where the image needs it the most.
Too much sharpening can lead to weird edges like the holo effect but it’s more narrow like I show on the image below.